CPR (Cardiopulmonary resuscitation) manikins are vital tools in healthcare training and education, enabling medical professionals, first responders, and even laypeople to practice life-saving techniques. However, as these manikins are repeatedly used, they can become breeding grounds for germs and bacteria. Proper cleaning and disinfection of CPR manikins are essential to ensure the safety of both instructors and students. In this article, we will guide you through the steps to clean CPR manikins effectively.
Why Cleaning CPR Manikins is Important?
It is important to clean CPR manikins to prevent the spread of germs. CPR manikins simulate human anatomy and are designed to mimic the responses and physical characteristics of a human body. During training sessions, students may come into close contact with these manikins, and as a result, they can become contaminated with bodily fluids, saliva, and other potential sources of infection. If a CPR manikin is not cleaned properly, it can spread germs to the people who use it. This can lead to illness, especially in people who are already vulnerable to infection.
Proper cleaning is necessary to prevent the spread of pathogens, minimize cross-contamination, and ensure a safe learning environment.
Materials Needed
Before you start cleaning your CPR manikin, gather the following materials:
- Disposable gloves: To protect your hands from any potential contamination.
- Mild soap or detergent: A gentle cleaning solution is usually sufficient.
- Warm water: To dilute the soap and aid in cleaning.
- Disposable cleaning cloths or paper towels: These are more hygienic than reusable cloths.
- A bucket or basin: For preparing the cleaning solution.
- A disinfectant solution: Consult your manikin’s manufacturer for recommended disinfectants. A 70% isopropyl alcohol solution is commonly used.
- A soft brush or toothbrush: For cleaning hard-to-reach areas and crevices.
Steps to Cleaning CPR Manikins
Before Cleaning CPR Manikins
- Put on gloves: Always wear disposable gloves to protect yourself from any potential contamination.
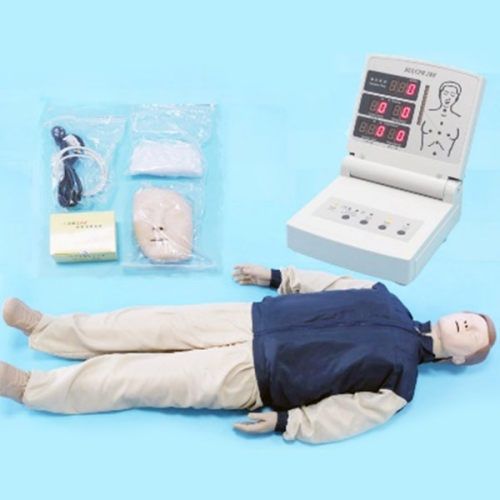
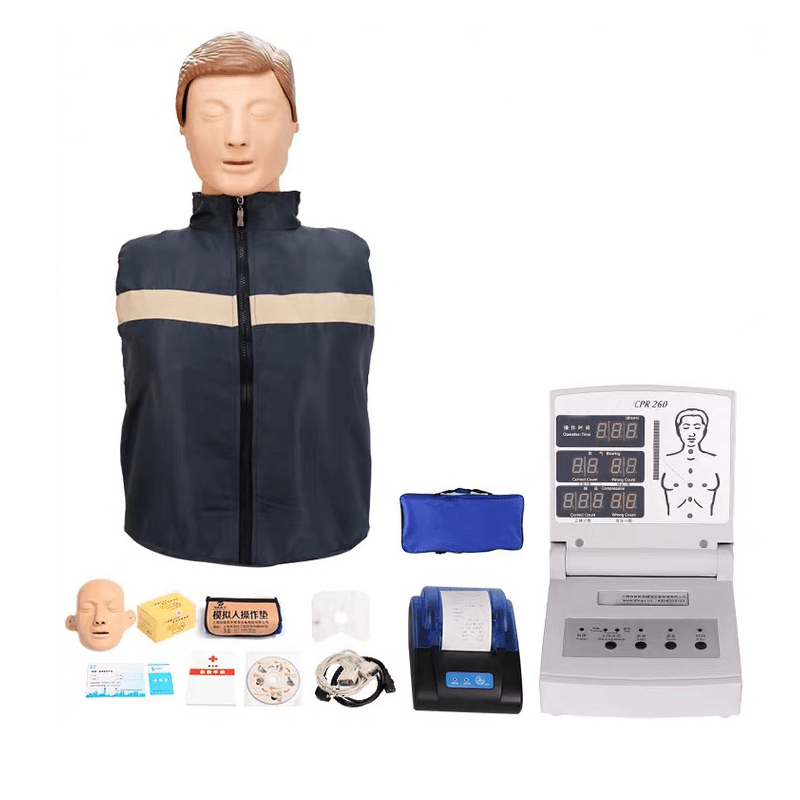
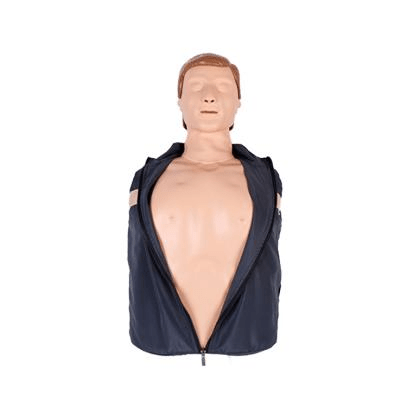
- Disassemble the manikin: If your manikin is designed to be disassembled, take it apart to access all the components that may have come into contact with bodily fluids.
During Cleaning CPR Manikins
- Wash with mild soap and water:
- In a bucket or basin, mix warm water with a small amount of mild soap or detergent.
- Dip a cleaning cloth or paper towel into the soapy water, wring it out, and gently wipe down the manikin’s surfaces. Pay particular attention to areas that are frequently touched or come into contact with bodily fluids.
- Rinse with clean water: After you’ve cleaned the manikin, rinse it thoroughly with clean water to remove any soap residue.
- Disinfect the manikin:
- Consult the manufacturer’s guidelines for the appropriate disinfectant to use. If no specific guidance is available, a 70% isopropyl alcohol solution is generally effective.
- Dampen a clean cloth or paper towel with the disinfectant solution and wipe down the manikin’s surfaces. Ensure that you cover all areas and pay special attention to high-touch regions.
- Clean and disinfect removable parts: Don’t forget to clean and disinfect any removable parts of the manikin, such as the face shield or lung bags.
Here are some additional tips for cleaning different parts of your CPR manikin:
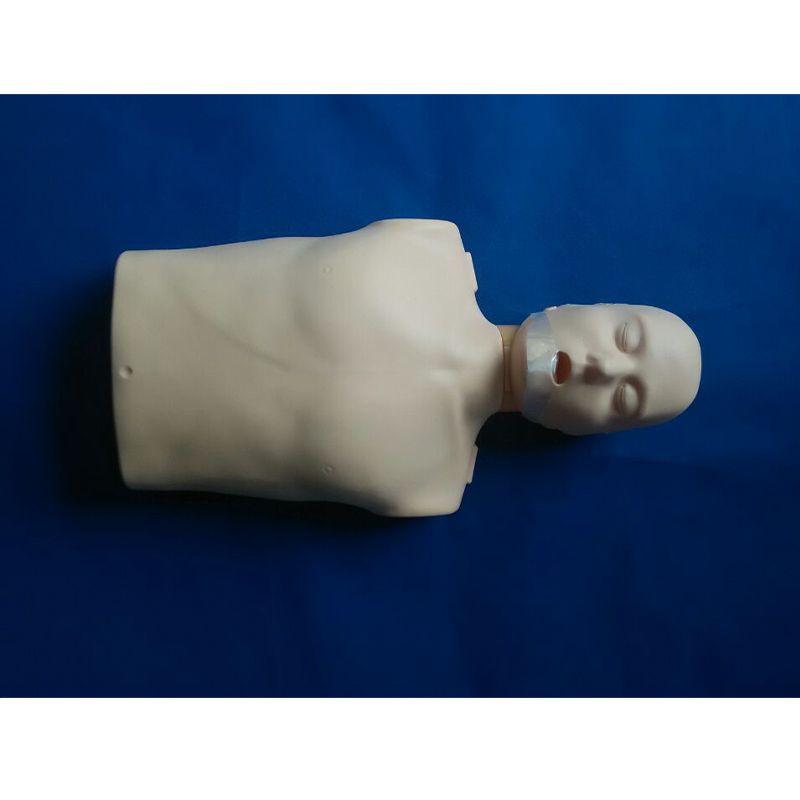
- Face: Use a mild soap and water solution to wash the face of the manikin. Be sure to rinse the face thoroughly with clean water after washing.
- Mouth: You can use a disinfectant wipe to clean the mouth of the manikin.
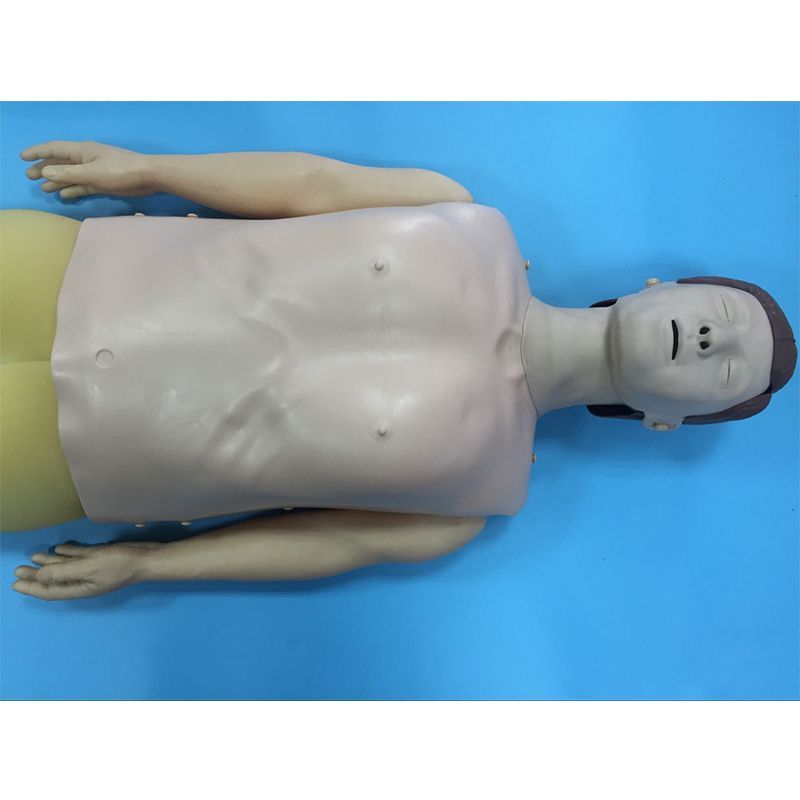
- Chest: Use a mild soap and water solution to wash the chest of the manikin. Be sure to rinse the chest thoroughly with clean water after washing.
- Airway: You can use a disinfectant wipe to clean the airway of the manikin.
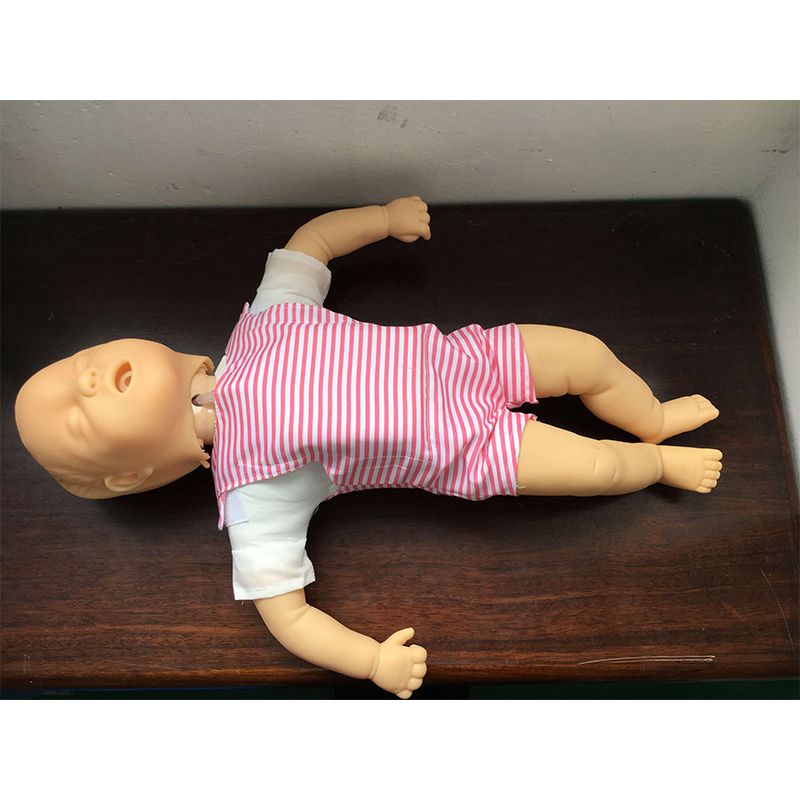
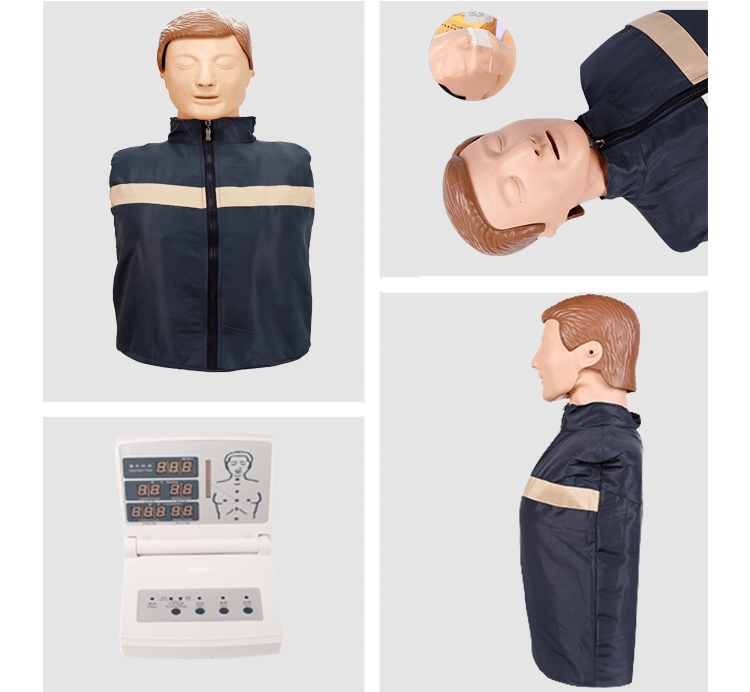
- Clothing: You can wash the clothing of the manikin in a washing machine on a cold cycle. Be sure to dry the clothing on low heat.
After Cleaning CPR Manikins
- Let it air dry: Allow the manikin and its components to air dry completely before reassembling it. This helps ensure that any residual disinfectant has evaporated.
- Reassemble the manikin: Once the manikin is dry, reassemble it according to the manufacturer’s instructions.
- Store properly: Store your CPR manikin in a clean, dry, and cool environment, away from direct sunlight and extreme temperatures.
- Regular Maintenance: Regularly inspect your CPR manikin for signs of wear and tear. If you notice any damage or wear, contact the manufacturer for repairs or replacement parts. Additionally, follow the manufacturer’s guidelines for routine maintenance and calibration to ensure the manikin’s accuracy and functionality.
Conclusion
In conclusion, proper cleaning and maintenance of CPR manikins are crucial for maintaining a safe and effective training environment. By following the steps outlined in this article, you can ensure that your CPR manikin remains a reliable and hygienic tool for teaching life-saving skills. Remember to always consult the manufacturer’s guidelines for specific cleaning and disinfection recommendations to best protect yourself and your students during training.