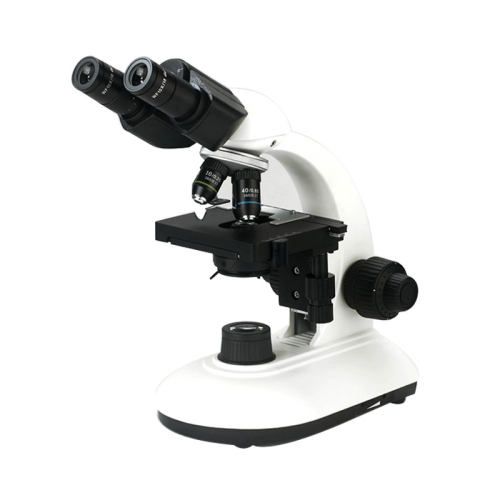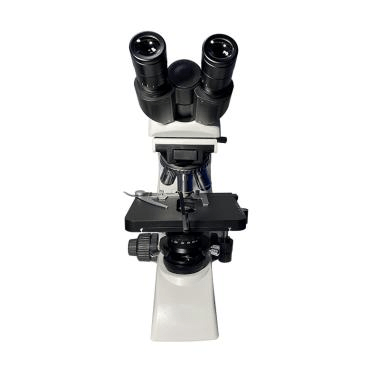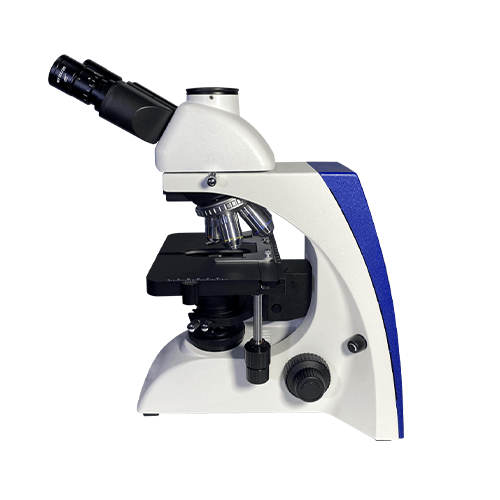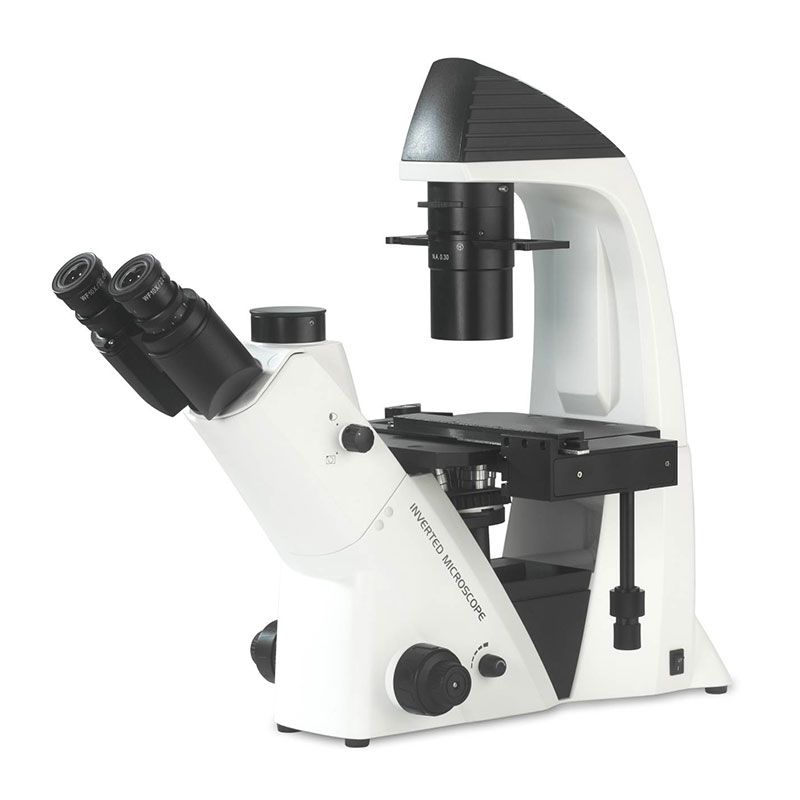
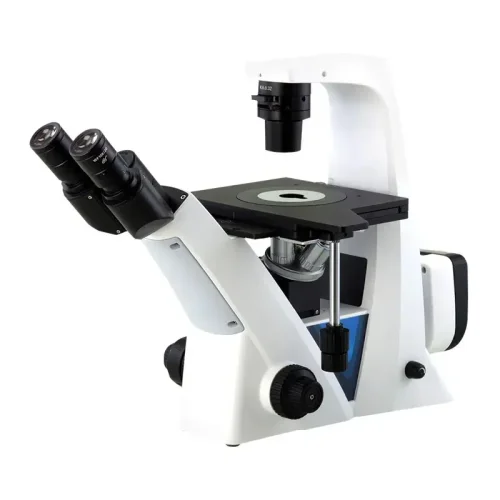
On compound microscopes, a microscope condenser is a glass lens or lens system that is situated beneath the stage. It collects light from the light source inside the microscope and focuses it into a cone-shaped light that shines on the specimen. For maximum resolution, the numerical aperture of the condenser should match or surpass that of the objective lens. Condensers regulate the quantity and intensity of light that reaches the specimen, which has a significant impact on image quality. Additionally, they can be utilized to produce various contrasts, including differential interference contrast, bright field contrast, and dark field contrast. In an upright microscope, microscope condensers are situated under the sample and above the light source; in an inverted microscope, they are situated above the stage and below the light source.
What are the Functions of Microscope Condensers?
We can manage the contrast of the image and create a bright, uniform light source by adjusting the condenser by knowing how it operates. This will improve our ability to observe the specimen and the quality of the results from our microscope investigations. The microscope condenser has two main functions:
Function 1: To concentrate light onto the specimen
More light can enter the objective lens and pass through the specimen when the condenser concentrates light upon it. As a result, the image is more detailed and brighter.
Consider yourself in a dimly lit environment, attempting to see a small thing. You can see the thing plainly if you shine a flashlight straight on it. However, the object will be less visible if the flashlight is shone in a wide beam. This is a result of the light being dispersed over a greater area. The condenser operates in a comparable manner. It focuses the light from the light source of the microscope into a narrow beam that is directed at the sample. This makes it possible for more light to enter the objective lens through the specimen, producing an image that is brighter and more detailed.
Function 2: To control the contrast of the image
The size of the light cone passing through the specimen can be changed to achieve this. An image with greater contrast will be produced by a smaller light cone, and an image with lesser contrast will be produced by a bigger light cone. The contrast in an image is the variation in brightness between its various components. By modifying the iris diaphragm’s size, the condenser can be utilized to regulate the image’s contrast.

When Should You Adjust the Microscope Condenser?
Every time you change the objective lens or the specimen, you need also to adjust the microscope condenser. This is so that the condenser can adjust the contrast of the image and provide a strong, even light source. To obtain the greatest image possible, the condenser and objective lens must be aligned. Here are some specific examples of when you might need to adjust the microscope condenser:
- You are changing the specimen.
- You are changing the objective lens to a higher power or a lower power.
- You will need to adjust the condenser to produce a bright, even light source for the specimen.
- You are having problems with the image quality, such as poor contrast or uneven illumination.
How to Adjust Microscope Condensers?
Step 1: Bring up the clear polygons
Set the aperture and field diaphragms to their lowest possible settings. At this point, if the microscope is operating correctly, the field of vision should display a polygon with distinct edges. The top and lower locations of the condenser in the optical path are inaccurate if what you see is not a polygon with distinct boundaries. At this point, steadily raise or lower the condenser using its up/down adjustment knob to produce a polygon in the field of view with distinct edges. Avoid frequently adjusting the condenser’s height. Don’t change the height position again after adjusting. Most of the heights have been modified once the microscope is placed, allowing for immediate adjustment of the following stage.
Step 2: Center the polygon
The center of the field of view is where the polygon should be positioned correctly. If it is not, the optical path has moved. To center the polygon in the field of view, the condenser centering screw, which consists of the two silver knobs, must be adjusted.
Step 3: Circumscribe the polygon
Expand the field diaphragm gradually. The ideal operating position of the field diaphragm is when the polygon just encloses the field of view. This allows the optical axis of the condenser to be aligned coaxially with the optical axes of the imaging and illuminating optical paths. Do not tamper with the centering screw rod during regular usage after adjustment.
Step 4: Adjusting the Numerical Aperture of the Condenser
To achieve the best resolution, adjust the numerical aperture of the condenser to properly match the numerical aperture of the objective lens. The numerical aperture of the condenser and the objective lens should coincide since the numerical aperture and resolution are strongly correlated. As an illustration, a condenser with a low numerical aperture and an objective lens with a low numerical aperture should be matched, and a condenser with a high numerical aperture and an oil lens with a high numerical aperture should be complementary. The image’s resolution may only be raised in this manner.
Conclusion
Having the ability to change the condenser is crucial to using a microscope efficiently. It can assist you in enhancing image quality, lowering glare and reflections, adjusting image contrast, troubleshooting issues with the microscope, and using the microscope for certain microscope techniques.