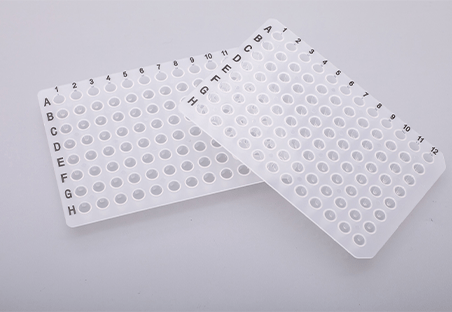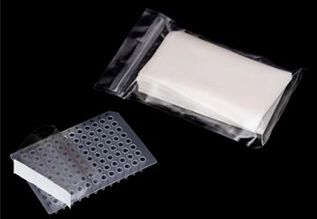
The little workhorses of the biological research industry are called enzyme-linked immunosorbent assay (ELISA) microplates. These thin, plastic trays loaded with tiny wells arranged in rows and columns serve as the platform for the potent ELISA technique, which finds and quantifies the presence of particular molecules in a sample—most frequently proteins. ELISA microplate is a kind of lab consumable that Scope could provide. This article serves as a guide, explaining the crucial procedures for ELISA microplate preparation and giving you the information you need to meet the challenges head-on.
Step 1: Choosing the Right ELISA Microplate
A carefully selected ELISA microplate offers a strong basis for precise binding, ideal signal detection, and ultimately significant findings that progress your investigation. To choose the right ELISA microplate, you need to consider the following factors:
- Consider the ELISA Assay Type That You Are Running
The types of microplates needed for various assays vary. Microplates with wells coated with the target molecule, for instance, are needed for direct ELISA assays, whereas wells coated with a capture antibody are needed for indirect ELISA assays.
- Consider How Much Reagent and Sample Volume Do You Plan to Use
There are different good volumes available for microplates. Select a microplate with wells big enough to hold the amount of reagents and sample you’ll be using.
- Consider the Compatibility of the Microplate With Your Plate Reader
Ensure that the microplate you select is appropriate for the plate reader you intend to use.
- Consider the Cost
The cost of an ELISA microplate might vary from a few dollars to several hundred dollars. Select a microplate that is within your means.
For more details about the selection strategies of ELISA microplate, please click here.
Step 2: Pre-Washing and Cleaning
- Dusting Off the New
Fresh from the factory are the new plates. Your plates may contain manufacturing residues and dust. Use a lint-free tissue that has been moistened with ultrapure water to gently wipe them.
- Soaking Away Contaminants
Use a mild detergent solution or ultrapure water to fill each well. Allow the solution to loosen any lingering impurities by letting them soak for 15 to 30 minutes.
- Manual Scrubbing (Optional)
To give the good bottoms and sides a deeper clean, especially when handling biological samples, use a soft sponge or plate washer sponge dipped in the detergent solution.
- Rinse and Repeat
To guarantee total removal of cleaning agents and contaminants, empty the wells and give them a thorough rinse with ultrapure water. Repeat this process three or four times.
- Drying Dilemma
- Air-drying: After placing the plate upside down on a fresh paper towel, let it air dry for a minimum of half an hour. Although this is the easiest method, there is a chance that dust will settle on the wells.
- Vacuum Drying (Recommended): Use a gentle vacuum manifold for quicker and more thorough drying. In addition to ensuring uniform dryness throughout the plate, this reduces the chance of dust contamination.
Step 3: Coating the Microplate
Once you’ve selected the ideal ELISA microplate for your experiment, coating it is similar to setting the stage for a fruitful protein detective narrative. This is the main idea:
- Well Incubation: After adding the antibody solution to each well, allow it to incubate for a predetermined amount of time and temperature.
- Washing Away Excess: To get rid of any unwanted visitors, discard the antibody solution and carefully wash the wells with a buffer.
- Blocking Unwanted Binding: After adding a blocking solution (such as casein or BSA) to the wells, re-incubate.
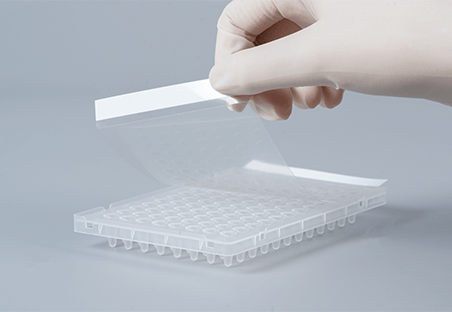
- Plate Sealing and Storage: After removing any extra liquid with a gentle tap, cover the plate with a plate cover.
Step 4: Blocking Nonspecific Binding
Ensuring accurate results in ELISA requires blocking nonspecific binding. Before adding the sample or reagents, blocking agents, such as casein or bovine serum albumin (BSA), are added to the ELISA plate’s wells. To stop the target molecule or other assay components from binding nonspecifically, the blocking agent attaches itself to any empty spots on the plate surface. The particular ELISA assay being run will determine which blocking agent is used. Although BSA is a popular option, some applications might be better suited for another blocking agent. For every assay, the concentration of the blocking agent and the incubation period must also be optimized.
Conclusion
The basis for precise protein detection is laid by each stage of microplate preparation, from cleaning the wells to coating them with the appropriate antibodies. Protein presence can be detected in even the smallest amounts using ELISA microplates. However ideal preparation is necessary to avoid this sensitivity. Dust and other impurities are eliminated by careful washing, and a platform for accurate detection is created by carefully coating it with capture antibodies. To minimize damage and contamination and avoid delays and wasted experiments, proper handling and storage are essential. Understanding how to set up your ELISA microplate will help you through the important processes and guarantee that you establish a strong basis for precise results and an insightful understanding of the fascinating world of proteins.