
My initial encounter with the polarising microscope left me with the misconception that it was little more than a modification of the common light microscope. Yet upon inserting a polished thin section of igneous rock, the experience was revelatory. The same slice, subdued and monochrome in a conventional setup, erupted in a suite of brilliant, intersecting spectra the moment polarizers were crossed.
In that instant, I understood that the instrument performs a dual role: it magnifies and it spectrally filters. More importantly, it unmasks crystalline assemblages and optical anisotropies concealed from unpolarised light, practically transporting the observer into a hidden mineralography that standard optics alone cannot disclose.


How Does a Polarizing Microscope Work?
A polarizing microscope works by adding polarizing filters into the light path. If you’ve ever slipped on a pair of polarised sunglasses, you’ve felt the magic: the glare disappears, and colours and shapes you swore you missed before show up clear as day. Now, picture a high-tech version of that same idea, stuffed into a microscope. The basics are the same, but here the difference gets cranked up a notch.
Here’s how it actually works, step-by-step:
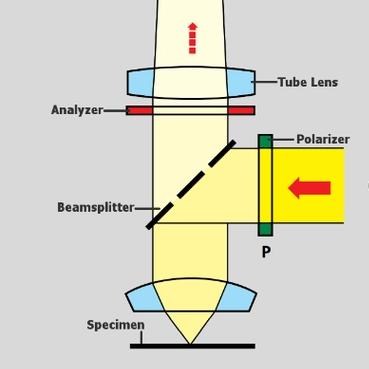
- A light source shines through a polarizer (a filter that makes all the light waves vibrate in the same direction).
- The light then passes through the sample. If the sample has crystals, fibers, or minerals that interact with polarized light, the light is split and changed in unique ways.
- Finally, the light goes through an analyzer (a second polarizer, set at a different angle). This combination makes those hidden structures show up as brilliant colors or contrasts.
For instance, lay a bit of a starch grain or a razor-thin mineral crystal beneath the view. Instead of the expected muddy-afterimage type of blob, bright crosshairs or a colour palette from muted armagnac to savage pink appear. The grain’s fibres and almond crystals squeeze the incoming light into those exact hues and cuts, and only the polarised set-up lets your eyes register the trick.
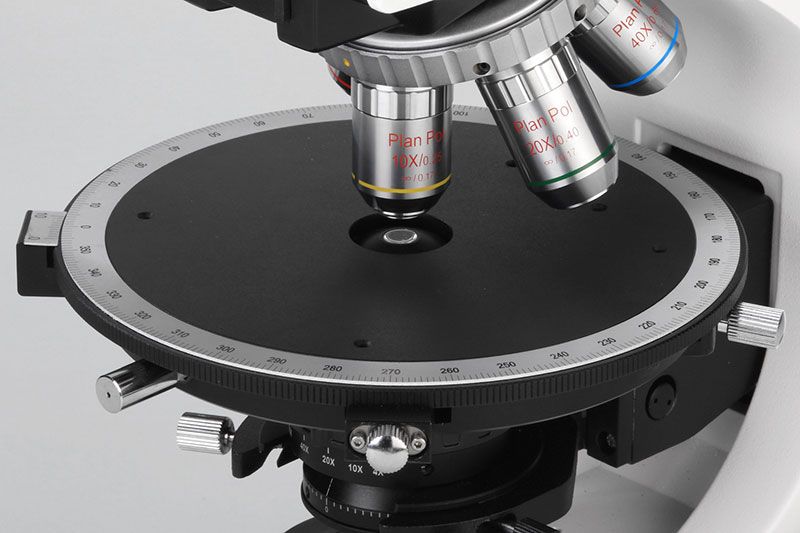
Core parts of a polarizing microscope:
- Light source
- Polarizer (below the stage)
- Sample stage (usually rotatable)
- Analyzer (above the stage, before the eyepiece)
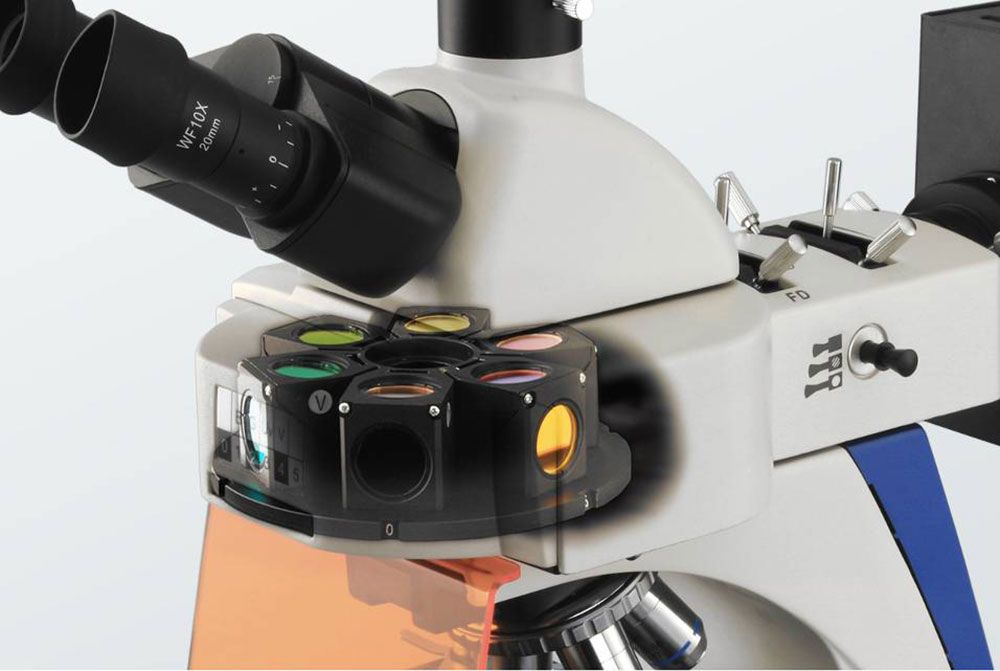
- Optional accessories (compensators, filters for advanced work)
What Makes It Different from a Regular Microscope?
A polarizing microscope is built on the same base as a normal light microscope, but the extra filters and a rotatable stage make all the difference. To make it clear, here’s how it compares with other types of microscopes I’ve used or seen:
| Microscope Type | Best for Samples | Key Feature | Where I’d Use It | Limitation |
| Biological | Cells, tissues | Clear cell details | Teaching labs, clinics | Not for crystals/minerals |
| Digital | Any | Easy sharing & capture | Online classes, demos | Resolution varies |
| Fluorescence | Proteins, stained cells | Glowing highlights | Medical, biology research | Expensive, needs dyes |
| Inverted | Living cells in dishes | Observe from below | Cell culture work | Not for thick samples |
| Metallurgical | Metals, alloys | Surface & grain study | Factories, QC labs | Not for biological use |
| Polarizing | Minerals, fibers, crystals | Colorful birefringence | Geology, forensic labs | Only works with anisotropic samples |
| Stereo | Larger 3D objects | Depth perception | Electronics repair, insects | Low magnification |
| Microscope Camera | Any (add-on) | Records images | Teaching, sharing | Not standalone |
Can I Add a Polarizing Filter to My Microscope?
Yep, it totally works, and I’ve given it a go. I just popped a super cheap sheet of polarising film under the bulb of my old student microscope and slapped another sheet right over the eyepiece. Looking at sugar crystals, I watched the colours shift and felt pretty cool.
That said, this home hack is a toy, not a tool. A real polarising microscope has a rotatable stage, spot-on aligned filters, and much better lenses. Those pieces add up when you do real geology or study materials, because you need the same, sharp, repeatable views. If you’re doing science that matters, saving for the pro rig is the smart call.
When Should You Choose a Polarizing Microscope?(From Sample Types)
| Sample Type | What You’ll See Under Polarized Light | Who Uses It Most | Why It Matters |
| Rocks & Minerals | Salt, sugar, starch grains, and synthetic fibers show cross patterns | Geology students, geologists | Identify minerals, study rock structures |
| Crystals & Fibers | Collagen, muscle fibers, and plant starch show striking colors | Materials science, forensic labs | Detect crystal forms, analyze unknown fibers |
| Polymers & Plastics | Transparent plastics reveal stress patterns | Manufacturers, QC engineers | Quality control, detect defects |
| Biological Birefringent Samples | Clear tape, phone screens, and sugar crystals glow with hidden colors | Biologists, educators | Research and teaching demonstrations |
| Everyday Objects | Clear tape, phone screens, sugar crystals glow with hidden colors | Hobbyists, classrooms | Fun exploration, science demos |
- Choose a polarizing microscope if your samples are crystals, minerals, fibers, or plastics that bend light.rock slice or mineral sample
- Stick with standard microscopes (biological, metallurgical, stereo) for cells, tissues, or opaque solids.
Final Thoughts
A polarising microscope functions similarly to wearing polarised sunglasses, revealing hidden details previously unnoticed. It does not just magnify—rather, it illuminates the way some materials refract and interact with light, transforming simple samples into beautifully detailed patterns.
It performs best with rocks, minerals, crystals, fibres, and plastics—samples that strongly interact with polarised light. For most cells or tissues, a standard biological microscope is more than sufficient.