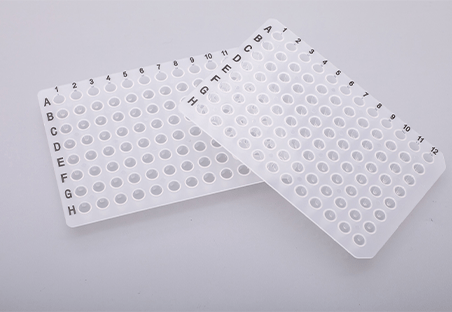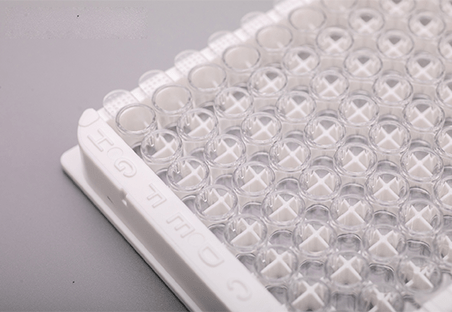
Polymerase Chain Reaction (PCR) is a fundamental technique in molecular biology. It allows scientists to make millions of copies of a specific DNA segment, essentially amplifying it from a tiny sample. This is crucial because many biological analyses require a significant amount of DNA for accurate results. Various parameters that may affect the quality of PCR experiments are carefully considered during the manufacturing process of consumable products aimed at PCR applications. PCR plates are specially designed trays that hold these DNA samples during the PCR process. They typically have multiple wells, allowing researchers to run multiple reactions simultaneously and increasing efficiency. The plate’s format ensures the reaction mixture stays contained and facilitates the precise heating and cooling cycles needed for PCR to function. While a PCR plate might seem like a simple container, proper sealing is critical for successful experiments. Evaporation and contamination ultimately lead to inaccurate and unreliable PCR results. Reduced sample volume due to evaporation can lead to weaker signals or even complete reaction failure. Contamination, on the other hand, can introduce false positive results, making it appear like DNA is present when it truly isn’t. There is a brief guide for optimizing PCR plate performance with the right seal and technique.
Do PCR Plates Need to Be Sealed?
Yes, sealing your PCR plates is critical for obtaining successful and consistent results in Polymerase Chain Reaction (PCR) experiments. Here’s an overview of why sealing is important:
Reason 1: Preventing Evaporation
During PCR, the reaction mixture is heated and cooled repeatedly. This process may cause the liquid sample to evaporate, concentrating the reaction components and negatively impacting the PCR’s efficiency and accuracy. Sealing the plate reduces evaporation, resulting in consistent reaction volumes throughout the experiment.
Reason 2: Avoiding Contamination
PCR is a highly sensitive technique, and even trace amounts of foreign DNA can produce false positive results. Sealing the plate creates a barrier that shields the samples from airborne contaminants such as dust, bacteria, and other foreign DNA.
Reason 3: Minimizing Sample Loss
Unsealed plates may result in sample loss due to splashing or spills during handling, particularly during transportation or vigorous mixing steps. Sealing the plate reduces sample loss and ensures that there is enough material for the entire PCR process.
Reason 4: Maintaining Reaction Conditions
Some PCR protocols call for specific atmospheric conditions in the reaction mixture. Sealing the plate helps to keep these conditions by preventing gas exchange with the surrounding environment.
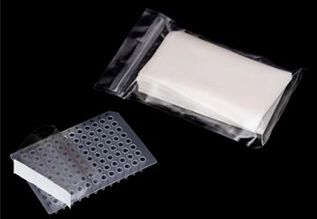
Find the Right Seal for Your PCR Plate
Not every seal is created equal. Some, such as adhesive films, provide a quick and easy solution but may not be as strong over time, potentially leading to increased evaporation rates. Heat seals, on the other hand, provide a more robust barrier for long-term storage and reduce evaporation, which is critical for accurate results.
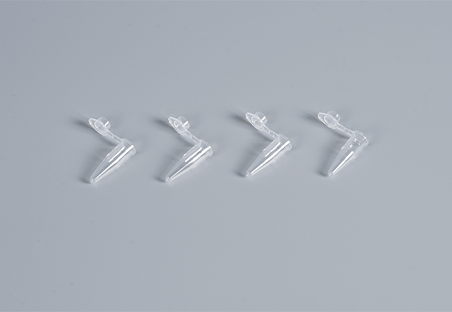
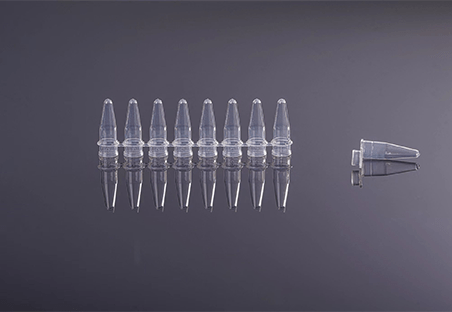
Plate Caps Vs. Film Seals Vs. Lids
- Caps: Caps provide superior sealing, reducing evaporation and sample loss. To add or monitor samples, simply remove and reseal the plate. Caps are reusable, which reduces waste compared to disposable film seals. However, caps must be selected specifically based on plate manufacturer and thermocycler compatibility. Applying caps to each well can be time-consuming and lead to cross-contamination if done incorrectly.
- Film Seals: Film seals can be cut to fit any PCR plate, regardless of the manufacturer. Film application is typically faster than using individual caps. However, films are typically not resealable and become unusable once pierced. Sealing strength may be less consistent than well-applied caps.
- Plate Lids: While plate lids are not directly comparable to caps and films, they provide a quick and simple solution for short-term contamination protection. However, they lack the secure seal required for PCR and should not be used for thermal cycling.
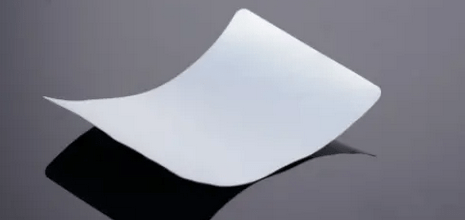
Optical vs. AluminumFoil Film Seals
- Optical Sealing Films: These transparent films allow you to directly observe samples within the plate, which is useful for monitoring reactions and adding reagents during the experiment. Their high optical clarity reduces interference with fluorescence measurements, making them ideal for qPCR(quantitative PCR) experiments requiring accurate fluorescence readings. While optical seals provide good protection and prevent evaporation, they may not be appropriate for all applications.
- Aluminum Foil Sealing Films: If your samples are light-sensitive, foil seals act as an opaque barrier, protecting them from light exposure during the experiment. Foil seals provide better protection than optical films for samples that will be stored for an extended period, particularly below -80°C. The foil seals are pierceable, allowing for easy access to individual wells for sample analysis or transfer with needles. This feature is useful for manual and robotic manipulation. Foil seals are more resistant to harsh chemicals such as acids, bases, and solvents, making them an excellent choice for experiments involving these substances.
Adhesive Vs. Heat Sealing Film
- Adhesive Film Seals: These seals are easy to apply, requiring little user training and no specialized equipment. Simply press the seal onto the plate to ensure a quick and secure closure. Adhesive films are generally less expensive than heat seals. While convenient, adhesive seals may not be as durable as heat seals over time.
- Heat Seals: Heat sealing provides a more secure and long-lasting seal, reducing evaporation and potential sample loss. This is great for long-term storage. Heat sealing necessitates the use of a separate plate sealer machine, which increases the initial investment cost.

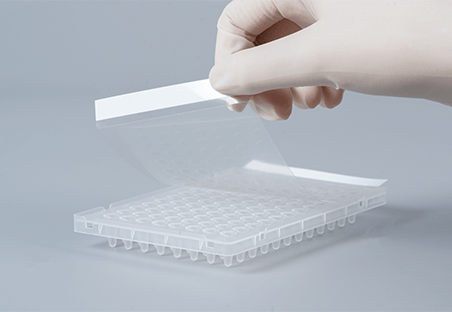
Proper Use of PCR Plate Sealing Film
To ensure the experiment runs smoothly, make sure the PCR plate sealing film is securely attached to the 96 well PCR plate. The following are the steps for properly sealing the PCR plate.
Step 1: Complete the Preparation Work
Please make sure to wear gloves first. Apply the sealing film to the plate. To maintain an enzyme-free environment, remove the ziplock bag’s single sealing film and reseal it. Hold the sealing film with the backing side up and slowly peel it off along the tangent. Then, stick one end of the adhesive side of the sealing film to the board and practice the distance and angle to avoid subsequent sticking. During the pasting process, one end is pasted and the other is pulled. If you’re using a sealing film for single-ended labels, remove the liner first, then anchor the film to the board so it seals over the entire board, and then remove the liner. If your product has two end labels, peel off the center liner in a continuous, smooth motion. To minimize curling, slowly peel off the liner. Be careful not to touch the film’s adhesive surface.
Step 2: Lamination
Scrape the sealing film down slowly with a lamination plate until it is completely sealed. The lamination process should be repeated at least twice horizontally and vertically. Applying enough force is essential for achieving a good seal. Scrape the lamination plate along the outer edges of the orifice plate at least twice, applying firm and consistent pressure. Be patient to achieve good results. After the sealing film has been properly sealed to the board, remove the joint section along the tangent. When laminating the film, use your other hand to stabilize the board and keep it from shaking violently.
Step 3: Review the Outcomes
After sealing, carefully inspect the plate to ensure that the film is securely attached to the plate. Confirm the stick marks around each well, that the plate’s entire surface is sealed, and that the membrane is free of liquid. The sealing film should not be wrinkled; if wrinkles appear, the plate is not properly sealed. Note that for slabs with raised edges, the sealing film may not be properly positioned on the slab to prevent the membrane from extending up the slab’s sidewalls. Place the sealed plate for at least 10 minutes before beginning the PCR experiment; the adhesion of the sealing film will improve with time. If the conditions allow, centrifugation with a well plate centrifuge will be more effective.
Conclusion
Sealing PCR plates is not an optional step, it’s a necessity for robust and reliable results. Improper sealing leads to evaporation, contamination, and ultimately, compromised PCR efficiency. By understanding the different sealing film options and employing proper sealing techniques, you can ensure optimal performance in your PCR experiments. Remember, choosing the right seal and using it correctly can save you time, and resources, and most importantly, prevent misleading results. So next time you prepare your PCR plate, don’t forget to seal the deal for success. The professional lab consumables supplier Scopelab will give you more detailed information.