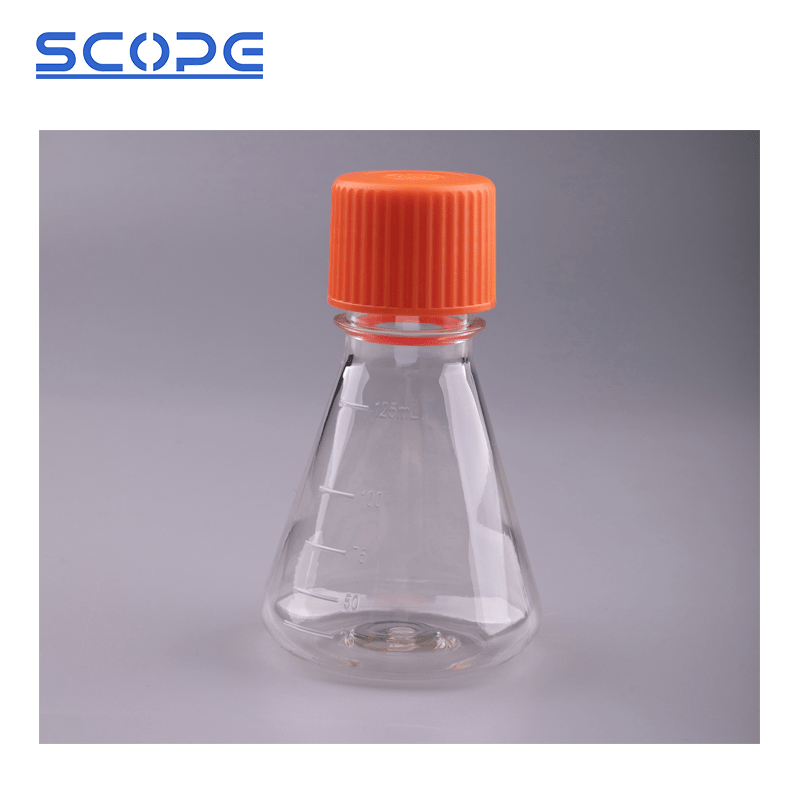
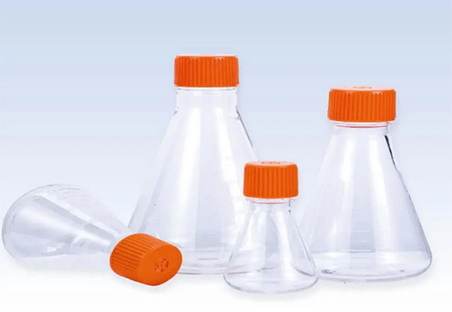
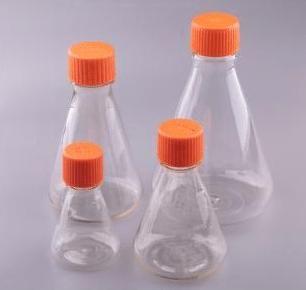
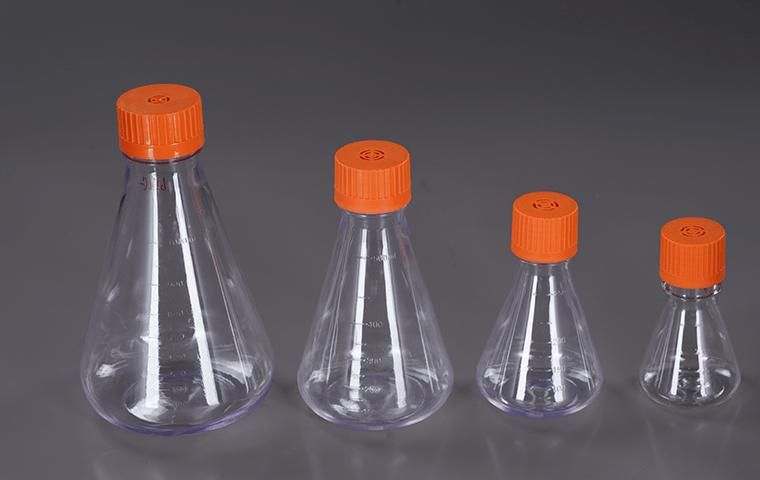
Erlenmeyer flasks, which are also named conical flasks are commonly used in laboratories to mix, heat, and store solutions. They can be used to combine, store, heat, and boil liquids. They’re less expensive than other glassware. Available in a variety of sizes to meet different experimental needs. The narrow neck allows for simple pouring and handling. They are also necessary tools for chemical reactions, titrations, sample preparation, and general laboratory work, making them indispensable in any laboratory setting. However, proper handling and care are required to ensure their durability and safety when making use of an Erlenmeyer flask. This guide will teach you how to safely and confidently handle your Erlenmeyer flasks, keeping them clean and ready for use.
How to Store an Erlenmeyer Flask?
1. Upright Position
When a flask is stored on its side, any remaining liquid can accumulate in the neck. Removing all of the pooled liquid can be difficult, particularly with smaller flasks. Tiny droplets could become trapped in the narrow neck, potentially contaminating future experiments. An upright position provides more stability for the flask, particularly when storing multiple flasks together. This reduces the likelihood of them colliding, which could result in chipping, cracking, or even breakage, particularly with thinner-walled flasks.
2. Cool and Dry Location
Heat and sunlight can degrade certain materials found in Erlenmeyer flasks, particularly plastics. Extreme temperature exposure can cause them to become brittle, crack, or warp over time, rendering them unusable. Some chemicals stored in Erlenmeyer flasks can react with heat or moisture, potentially causing unwanted changes in the solution or compromising the flask’s integrity. A cool, dry environment reduces the risk of such reactions. Moisture can encourage the growth of mold on the flask, particularly if organic residues are present. A dry environment inhibits mold growth, keeping your flasks clean and ready for use.
3. Closed Shelving
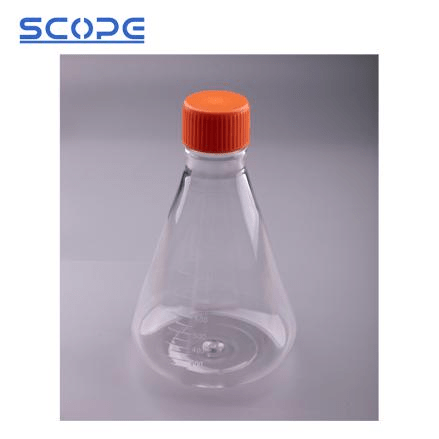
Dust can easily settle on exposed glassware, contaminating the flask and jeopardizing the accuracy of your experiments. Closed shelving protects the flasks from dust and ensures their cleanliness. Open shelves expose flasks to the surrounding environment, which may contain various airborne contaminants. These contaminants, such as bacteria or chemicals, may settle on the flask’s surface, jeopardizing the validity of your experiments. Closed shelving creates a physical barrier that reduces the risk of contamination. At the same time, choosing the Erlenmeyer flask with the cap provided by Scopelab is a good choice.
4. Separate Storage
Like many other laboratory consumables, Erlenmeyer flasks are made of glass, easily chipped and broken when bumped or struck. Storing them separately reduces the likelihood of colliding with each other or other objects, significantly lowering the possibility of accidental damage. Even minor chips or cracks in the flask’s rim or neck can impair functionality. Separate storage helps to protect the flask’s integrity by lowering the risk of such damage. Storing flasks separately facilitates access and handling during use. You won’t have to worry about entangled or stuck flasks, which prevents spills and accidents during retrieval.
How Do I Properly Clean an Erlenmeyer Flask?
The best way to clean your Erlenmeyer flask is largely determined by the type of material it contains and the amount of residue or staining. This is a general guide:
1. Initial Rinse
The initial rinse with tap water helps remove any loose debris or liquid residue left over from the flask’s previous use. This includes dirt, dust, and leftover particles that may not be visible but can disrupt the cleaning process and potentially contaminate the flask. Starting with a rinse increases the efficiency of the entire cleaning process. It lightens the load on the chosen cleaning solution and brush by removing easily detachable material, allowing them to concentrate on the more stubborn residues.
2. Choose Your Cleaning Method
- For Basic Cleaning: If the flask only contained water or common laboratory solutions such as acids or bases, you can add a detergent solution. To thoroughly clean the flask, dilute some mild dish soap in warm water and use a soft brush. Rinse thoroughly with distilled water to remove any soap residue.
- For Stubborn Residues: To remove stubborn residues, use a cleaning solution tailored to the material. Consult your lab’s safety protocols or a qualified technician for advice on selecting the appropriate solution.
- For Organic Residues: For organic residues, cleaning with solvents like acetone or methanol may be necessary. Solvents are flammable and hazardous, so use them with extreme caution. Always use them in a well-ventilated area and adhere to proper safety procedures.
3. Brushing and Rinsing
Once you’ve decided on a cleaning method, use a soft brush to gently scrub the flask’s inner and outer surfaces. Pay close attention to the neck and rim, where residues can accumulate. Rinse thoroughly with distilled water several times to remove any remaining cleaning solution or residue.
4. Drying
Let the flask air dry completely on a clean drying rack. Avoid using paper towels or cloths because they can leave behind lint or fibers. Leaving the flask wet after cleaning creates a moist environment conducive to the growth of bacteria and mold. Measurement accuracy can be influenced by residual water droplets on the flask’s inner surface. When measuring liquids in a wet flask, water droplets may adhere to the glass, resulting in inaccurate volume readings. Allowing water to evaporate on its own may result in mineral deposits or hard water stains on the flask’s surface. These stains can be difficult to remove and may impair the visibility of the solution inside the flask during subsequent experiments.
What Should I Do If I Break an Erlenmeyer Flask?
If you break an Erlenmeyer flask, prioritize safety and follow these steps:
1. Personal Safety First
Protect yourself immediately, and clear the area. Wear safety glasses and gloves to prevent cuts from broken glass and potential exposure to hazardous materials. If not handled properly, broken glass can cause serious cuts and injuries. Wearing safety glasses and gloves shields your eyes and hands from cuts and debris, reducing the possibility of accidental injury. Prioritizing safety by wearing appropriate personal protective equipment (PPE) helps to reduce this risk. If the flask contains hazardous chemicals, carefully remove anyone or anything nearby to avoid coming into contact with the spilled substance.
2. Contain the Spill (if applicable)
Act quickly to stop the spill. Use appropriate absorbent materials, such as paper towels or spill kits, to absorb as much liquid as possible. Dispose of contaminated materials by your laboratory’s hazardous waste disposal procedures. Broken flasks can contain a variety of materials, some of which may be hazardous if in contact with people or the environment.
3. Clean Up the Glass Shards
Never handle large or sharp glass shards with your bare hands. Use a broom and dustpan to gently sweep up the larger pieces. For smaller shards or dust, use a dustpan and brush or a glass-cleaning vacuum cleaner. To avoid accidental injury, dispose of broken glass in a designated sharps container or a sturdy, clearly labeled waste bin. Broken glass is a significant safety hazard. Sharp shards can easily cause cuts and lacerations if not handled correctly.
Conclusion
Erlenmeyer flasks should be handled properly to reduce the risk of cuts from broken glass, burns from hot liquids, and potential exposure to hazardous materials while cleaning or using them. Clean and well-maintained flasks ensure accurate measurements and prevent contamination, which could hurt your experiment’s results. Following Scope‘s guide Knowing how to properly handle and clean Erlenmeyer flasks can help them last longer, reducing the need for frequent replacements and ultimately saving money. Understanding proper handling encourages responsible and safe practices in the laboratory, reducing accidents and promoting a positive work environment. The principles of cleaning, storing, and handling glassware covered in this guide can be applied to other laboratory equipment, promoting safe and effective work across a variety of tasks. If you have any further questions about Erlenmeyer flasks, please contact us.