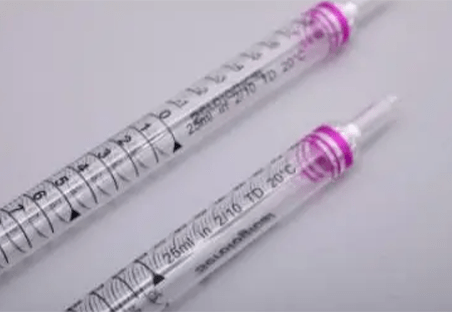
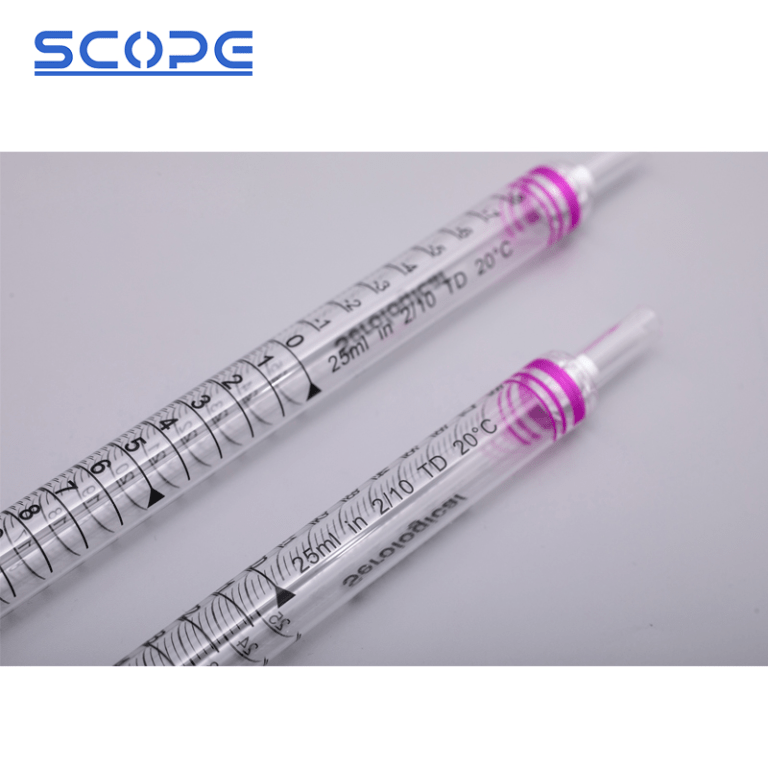
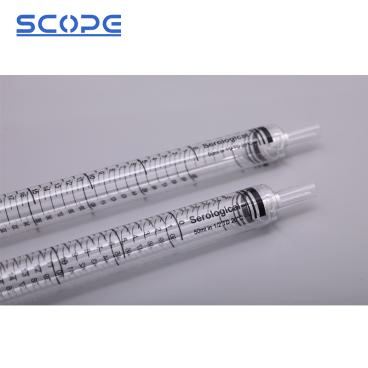
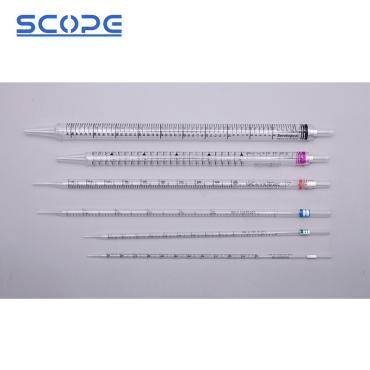
A laboratory tool for measuring and transferring exact liquid volumes is a serological pipette. It’s widely used in lab settings for many different kinds of tasks, like performing cell cultures, dilutions, and reagent preparation. Usually, glass or plastic are used to make serological pipettes. A graduated scale is located on the side of their long, thin barrel. The tip of the barrel is submerged in the liquid to be measured. A bulb at the top of the barrel is squeezed to draw up the liquid by creating a vacuum. There are many different sizes of serological pipettes, ranging from 0.1 mL to 100 mL. The volume of liquid you need to measure will determine the size of the pipette you require. Although serological pipettes are usually discarded, they can be cleaned and sterilized properly to enable reuse.
What Are the Procedures for Serological Pipette Use?
To measure and transfer precise liquid volumes in laboratory settings, serological pipettes are frequently utilized. Though they can be cleaned and sterilized properly, they are usually disposed of and not reusable. Here is a step-by-step guide on how to use a serological pipette:
- Gather the necessary materials
It guarantees you have everything required to finish the task efficiently and safely. Having everything you need on hand will save you from having to stop and look for missing parts, which could contaminate the pipette or the liquid you’re measuring.
- Choose the correct pipette size
Choosing the right pipette size is essential to guaranteeing precise, accurate, and effective liquid transfers in lab environments. It increases the overall success of your experiments by reducing the chance of contamination, problems with sample integrity, and needless waste.
- Attach a pipette tip
Accurate measurement is ensured and contamination is prevented. Designed to fit snugly onto the end of a serological pipette, pipette tips are made of disposable plastic. The liquid being measured and the pipette’s interior are separated when a pipette tip is attached. By doing this, the pipette and the liquid are kept cleaner. Moreover, the volume of liquid that pipette tips deliver when they are squeezed is precisely calibrated. This contributes to precise measurement assurance.
- Fill the pipette with the desired volume of liquid
Gently press the pipette bulb to generate a vacuum to fill the pipette. Submerge the pipette’s tip into the liquid you wish to measure after that. Release the bulb gradually to extract the required volume of liquid.
- Dispense the liquid into the desired container
Hold the pipette over the container and gently squeeze the bulb to dispense the liquid. The pipette’s tip will release the liquid.
- Eject the pipette tip
To avoid contamination, it is crucial to remove the pipette tip after each use. Because it is made of plastic, the pipette tip is prone to bacterial and viral growth. These contaminants may spread to the next liquid being measured if the pipette tip is not ejected, which could contaminate the sample or produce unreliable results.
- Clean the pipette (if reusable)
It’s crucial to properly clean reusable pipettes to avoid contamination. A serological pipette can be cleaned by rinsing it well with distilled water, soaking it for at least half an hour in a solution of distilled water and bleach, and then drying it with a fresh cloth.
How Do I Clean a Serological Pipette?
- Wash the pipette with distilled water
You can be sure that your pipettes are sterile and secure for use in lab environments if you use distilled water.
- Soak the pipette in a solution of distilled water and bleach
In a clean container, prepare a 10% bleach solution (1 part bleach to 9 parts distilled water). Let the pipette sit in the bleach solution for a minimum of half an hour. Any bacteria or viruses that might be on the pipette will be eliminated by doing this.
- Rinse the pipette thoroughly with distilled water
It’s critical to empty the pipette of any leftover liquid or impurities after each use. Accurate measurements may be hampered by residual liquid, and contaminants may contaminate the liquid being measured after them. Since distilled water doesn’t contain any contaminants that could contaminate the pipette, it is used.
- Dry the pipette with a clean cloth or paper towel
After washing the pipette, make sure to get rid of any remaining moisture. Bacteria and viruses can grow in moist environments, contaminating the pipette and reducing accuracy. Additionally, it may lead to the metal parts of the pipette corroding.
How Should I Label My Serological Pipettes?
Serological pipettes must be properly labeled to guarantee precise measurements, avoid contamination, maintain inventory and traceability, improve safety, enable standardization, and abide by regulations. Preserving the integrity and dependability of laboratory work is imperative. Here are some guidelines on how to label your serological pipettes:
- Use clear and legible serological pipette labels: Either on the pipette itself or on a label firmly fastened to the pipette, write the pipette size and volume in bold letters. Accurate identification, safety, effective inventory management, clear communication, appropriate documentation, and regulatory compliance are all facilitated by the use of readable and clear labels on serological pipettes. Preserving the integrity and dependability of laboratory work is imperative.
- Include the volume range: Indicate the volume range if there is a graduation on the pipette. A pipette that has a capacity of 2 mL to 5 mL, for instance, would be marked “2 mL – 5 mL.” Serological pipette labels must include the volume range to guarantee precise measurements, avoid overfilling and underfilling, choose the right pipette efficiently, follow standard operating procedures, improve safety, and comply with regulations. Preserving the integrity and dependability of laboratory work is imperative.
- Identify the pipette type: Make sure the label clearly states which type of pipettes you are using, such as graduated and non-graduated. By doing this, you can prevent yourself from picking the incorrect pipette for the job.
- Add additional information as needed: You might want to add more details to the label, like the lot number, expiration date, and manufacturer’s name. You can use this information to keep track of and maintain your pipettes.
- Use a permanent marker: To make sure that the labels don’t smear or fade over time, use a permanent marker or another sturdy labeling technique.
- Label the pipette tip box: Labeling the pipette tip box is just as important as labeling the pipettes themselves. This will enable you to quickly determine which pipette tip is appropriate for the pipettes you are currently using.
Conclusion
For any worker in a laboratory, knowing how to use a serological pipette is essential. It is necessary to guarantee precise measurements, stop contamination, boost productivity, and encourage safety in the lab setting. Gaining proficiency with this method is an investment in the caliber and honesty of scientific investigation and testing. Offering an extensive range of high-quality products, Scopelab is a leading supplier of consumable laboratory supplies. In addition to being tailored to the particular requirements of laboratories spanning several disciplines, our products also adhere to industry standards. For more details, please contact us.