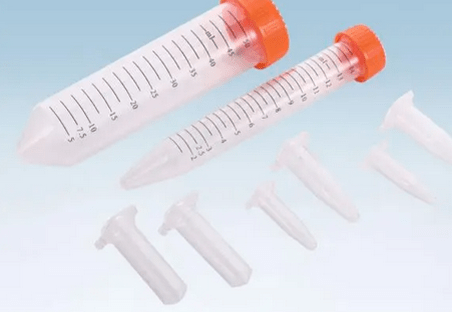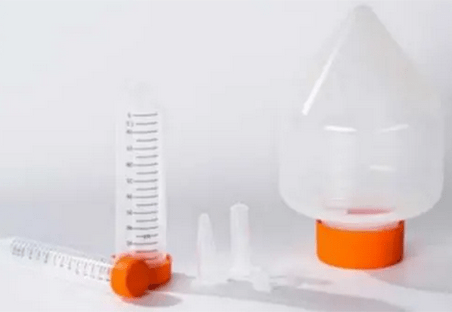
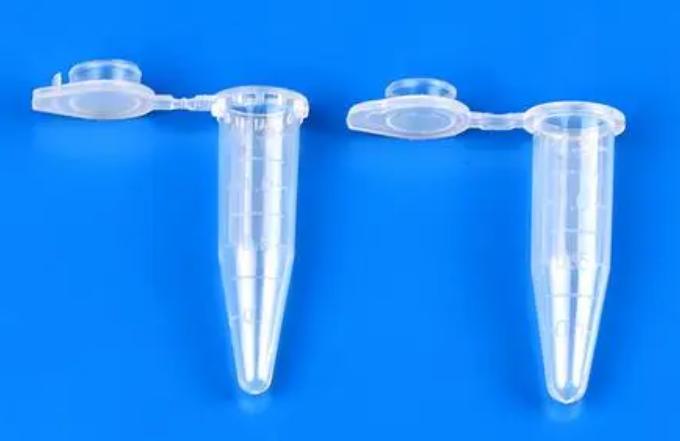
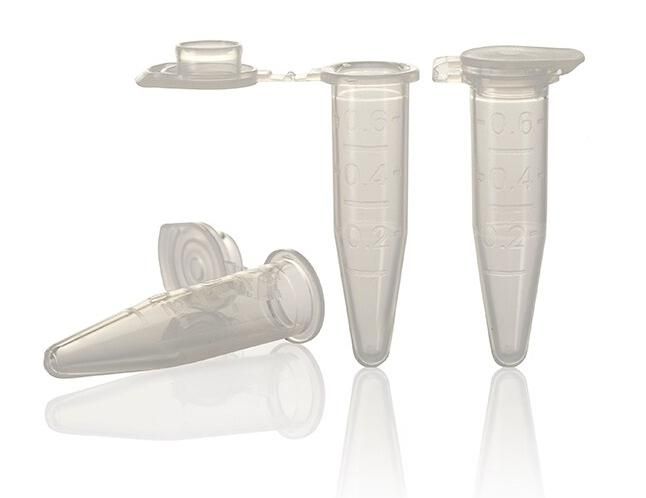
The centrifuge tubes are divided into conventional centrifuge tubes, microcentrifuge tubes, and centrifuge bottles. Different centrifuge tube consumables can be selected according to different centrifugation requirements and liquid capacity. After sterilization, it can meet experimental requirements such as cell culture, microbiology, and molecular biology laboratory sample processing, and provide good quality to ensure the safety of samples and users. Microcentrifuge tubes are one of the common centrifuge tube consumables in laboratories. Their applications range from protecting valuable cell cultures to storing DNA snippets. By selecting the right tube, labeling meticulously, and mastering handling techniques, you can maximize the potential of these tiny workhorses, saving time, reducing errors, and ultimately producing better science. Here are some pointers for using microcentrifuge tubes efficiently.
Tips 1: Optimizing Efficiency
How to Select the Right Micro CentrifugeTube?
Selecting the appropriate microcentrifuge tube is critical for achieving accurate results and efficient workflows in your laboratory experiments. Here’s a detailed guide to help you choose the right size, material, and type for your specific application:
Size
- Sample volume: Consider the amount of sample you can handle comfortably. The tube’s capacity should be large enough to hold your sample without overfilling during handling and centrifugation. Remember that exceeding the maximum capacity can compromise tube integrity and result in leaks.
- Number of samples: Determine whether you need separate tubes for each sample or if you intend to combine multiple samples in larger tubes. Consider using multi-well plates to handle a large number of samples at once.
Material
- Chemical compatibility: Select a material that is compatible with the chemicals you will be using. Polypropylene is the most popular and versatile material, but polycarbonate is preferred for low-binding applications involving proteins or DNA. Other materials, such as polystyrene or fluoropolymers, provide specific benefits based on your needs.
- Sterility: When conducting cell culture or molecular biology experiments, use sterile tubes. Pre-sterilized tubes eliminate the need for autoclaving, which saves time.
Type
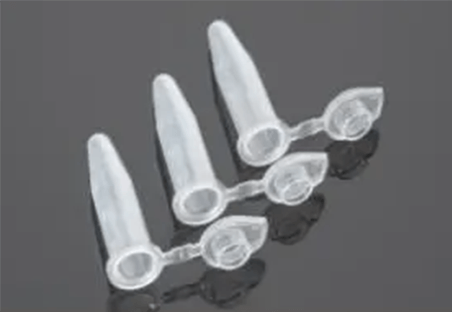
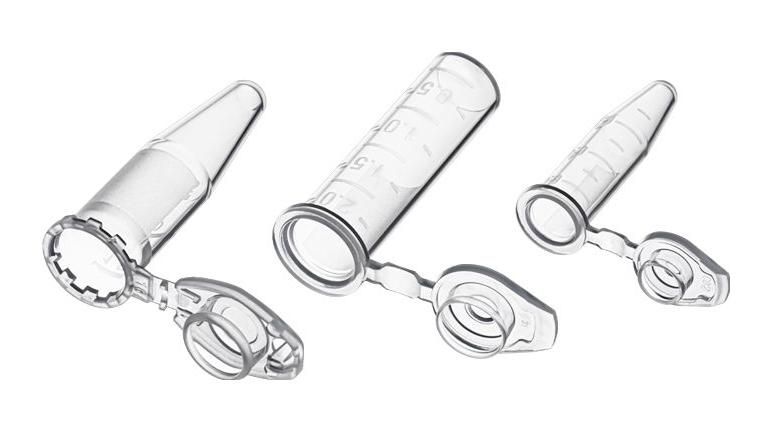
- Conical bottom: Ideal for separating cells or debris during centrifugation. The conical shape allows for complete sample recovery while minimizing pellet disruption.
- Flat bottom: Suitable for storing samples, mixing solutions, and performing reactions that require a flat surface.
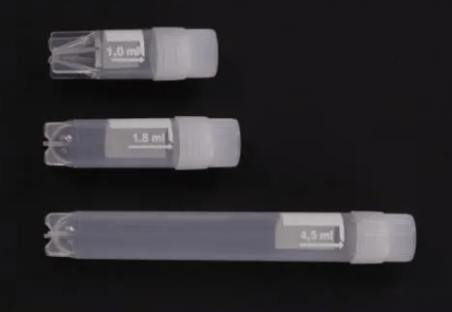
- Graduated: Etched markings ensure accurate volume measurement without the need for separate tools. Select the appropriate graduations based on your typical sample volume.
How Can I Minimize Sample Loss During Centrifugation?
Sample loss during centrifugation can be inconvenient and reduce the accuracy and efficiency of your experiments. Here are some key tips for reducing sample loss and ensuring successful centrifugation:
Centrifugation Parameters
- Appropriate speeds: Consult centrifugation protocols or reference tables to determine the appropriate speed for your samples and desired results. Excessive speeds can shear and fragment samples, resulting in losses.
- Balanced rotor: To avoid uneven centrifugation and sample loss due to tube breakage, ensure that the rotor is properly balanced with tubes of equal volumes or weights.
- Centrifugation time: Follow the recommended centrifugation times. Longer durations can lead to increased evaporation and sample loss, particularly at higher speeds.
Sample Handling
- Avoid overfilling tubes: Leave enough headspace to prevent spills during acceleration and deceleration. Overfilled tubes can also leak when opened.
- Pipetting technique: Use the appropriate pipette tip size for the tube’s diameter and avoid touching the sides or bottom. This reduces sample shear and potential loss.
- Decanting: When transferring supernatants, pour slowly and carefully to avoid disturbing the pellet and losing the sample. Consider using transfer pipettes to achieve more precise and controlled removal.
How Can I Speed Up Sample Preparation Using Micro Centrifuge Tubes?
In the fast-paced world of research, every minute saved during sample preparation is valuable. Here are some techniques for using microcentrifuge tubes to streamline your workflow and speed up the sample preparation process:
Pre-cooling
- Preparation: Depending on the temperature requirements of your experiment, chill or freeze tubes and rotors ahead of time. Pre-chilled tubes reduce sample warming during processing, particularly when working with temperature-sensitive samples such as enzymes or proteins.
- Batch processing: Consider pre-cooling tubes for multiple samples at the same time to save time.
- Ice baths: Use an ice bath to quickly cool tubes before adding your samples.
Multi-channel pipettes
- Parallel dispensing: Invest in and use multi-channel pipettes whenever possible. These tools allow for simultaneous dispensing into multiple tubes, which saves time compared to single-channel pipettes, particularly for repetitive tasks like aliquoting or buffer additions.
- Tip selection: Select the multi-channel pipette tips with the proper volume capacity and design for your tubes. This ensures accurate dispensing and reduces the risk of leaks or spills.
Tips 2: Preventing Errors and Contamination
How Can I Prevent Cross-Contamination Between Samples in Micro Centrifuge Tubes?
Preventing cross-contamination is critical in any laboratory setting, and even minor inconsistencies in microcentrifuge tubes can have serious consequences. Here’s how to reduce the risk of contamination:
Storage and Separation
- Dedicated storage: To avoid contamination, keep different experiments or projects in separate storage areas or racks. Label the areas clearly and consistently.
- Physical barriers: Using dividers or separation trays in storage boxes or racks creates physical barriers between tubes containing different samples, reducing accidental contact.
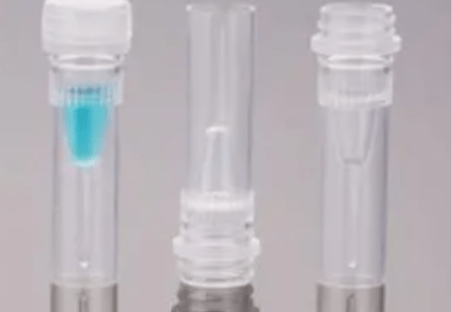
- Caps on tight: Ensure that all tubes are securely closed using screw-cap or snap-cap mechanisms. Loosely capped tubes are more susceptible to contamination. Snap lock micro centrifuge tubes provided by Scopelab are a good choice. They have a tight seal that prevents leaks and contamination, which is important for protecting users from exposure to biological and chemical hazards.
- Frozen storage: To prevent contamination during long-term storage, freeze individual tubes in separate cryogenic vials or boxes.
Sterile Techniques
- Wear gloves: Always wear gloves when handling tubes, especially when working with sensitive samples or conducting sterile experiments. To avoid cross-contamination, change gloves frequently.
- Sterilize tubes and equipment: Use appropriate sterilization methods, such as autoclaving or chemical disinfection, on tubes and equipment that come into contact with samples. Follow the recommended protocols and safety guidelines.
- Sterile work areas: Maintain a clean and sterile work environment by disinfecting surfaces regularly and using sterile pipettes and tips when handling samples.
- Avoid touching the inside: To prevent contaminants from entering the sample directly, avoid touching the inside of the tube with pipette tips or fingers.
What Are Some Tips for Safely Disposing of Used Micro Centrifuge Tubes?
Disposing of used micro centrifuge tubes safely is critical for both human health and environmental protection. Here are some key tips to ensure proper disposal, depending on the type of waste involved:
Biohazardous Waste
- Sharps containers: If your tubes contain sharp objects such as needles or scalpel blades, dispose of them in designated sharps containers to avoid punctures and injuries.
- Chemical disinfectants: If your tubes contain hazardous chemicals, before disposal, treat them with the appropriate disinfectants listed on the safety data sheets.
- Autoclavable tubes: If your tubes are autoclavable and comply with your institution’s procedures, sterilize them before disposal to kill any potential pathogens.
Non-hazardous Waste
- Decontaminate: To dispose of tubes that do not contain biohazardous materials or chemicals, use soap and water or a suitable disinfectant.
- Rinse and dry: Rinse the decontaminated tubes thoroughly with water and let them dry completely before discarding.
- Recycle programs: Check to see if your institution or municipality has recycling programs for plastic centrifuge tubes. Some companies provide mail-back options for specialized tubes.
Tip3:Safety and Best Practices
- Wear gloves: Always wear gloves when handling tubes to avoid contamination.
- Sterilize tubes and equipment: Use proper sterilization methods on tubes and equipment that come into contact with samples.
- Avoid touching the inside: To avoid contamination, do not touch the inside of the tube with pipette tips or your fingertips.
- Dispose of waste properly: Follow the established protocols for disposing of biohazardous and non-hazardous waste.
- Follow safety guidelines: Follow your lab’s safety protocols and procedures for handling chemicals and biological materials.
Conclusion
Like other lab consumables, understanding and implementing proper microcentrifuge tube usage is especially important in research, where minor variations can have a significant impact. Mastering techniques such as using multichannel pipettes or minimizing transfers allows you to significantly reduce processing time and complete your experiments faster. It improves the overall quality, efficiency, safety, and ethical conduct of your research, resulting in more reliable and impactful findings.